
In the fast paced world we live in today, we can get so caught up in the rat race that we forget the basics of managing our many devices and keeping them properly organized and up to date.
The thing is, time is something that seems to just fly by in a blur and it is so easy to think that because technology is so smart these days, that we don't need to manually do anything to manage our devices.
Unfortunately, our smart devices may be smart but they are not self sufficient. It is crucial that we remember to clean out and organize our smartphone just like we do our homes or offices etc.
Even though the storage space on our smartphone may seem positively gargantuan to us when we first get our device, it doesn't take long before that empty space starts to fill up and before too long we have amassed quite a lot of clutter.
With the accumulation of all the files and images, videos and documents it won't be long before your smartphone starts to become sluggish and will take longer to execute simple tasks. You may also find that you start to run out of space, shockingly enough.
So, before you find yourself in dire straits, it's best to run through the following simple basics of cleaning out and managing your smartphone so that you can free up more space and keep your device properly organized.
Cleaning Up Your Files
Having a smartphone can be incredibly useful -- it's basically like having a laptop that fits in the palm of your hand. Not to mention that it comes with two types of storage -- internal storage and external storage. The internal storage is your phone's physical and primary storage space.
The external storage is only available if you have inserted a portable memory card or SD (Secure Digital) card into your phone. These memory cards come in different sizes, but no matter the size, there is always room for clearing up.
Every time you use your phone to browse the internet, install an app or view an image your phone creates a temporary file. This gets stored in your smartphone's internal memory and over time these temporary files (or junk files) add up and eventually end up taking up quite a lot of space. They are files that are never used and thus they do not need to be kept.
Added to these junk files there are also unused apps that you thought to might use or that might be great to have but it turns out you haven't used them since that first time you installed them to give them the once over.
Then, instead of uninstalling them, you just closed them and moved on -- only they're still on your phone taking up precious space that could be used for something else far more important.
To uninstall an app which you don't use or do not need anymore, navigate to Settings (depicted by a cog shaped icon) and then scroll down until you get Apps.
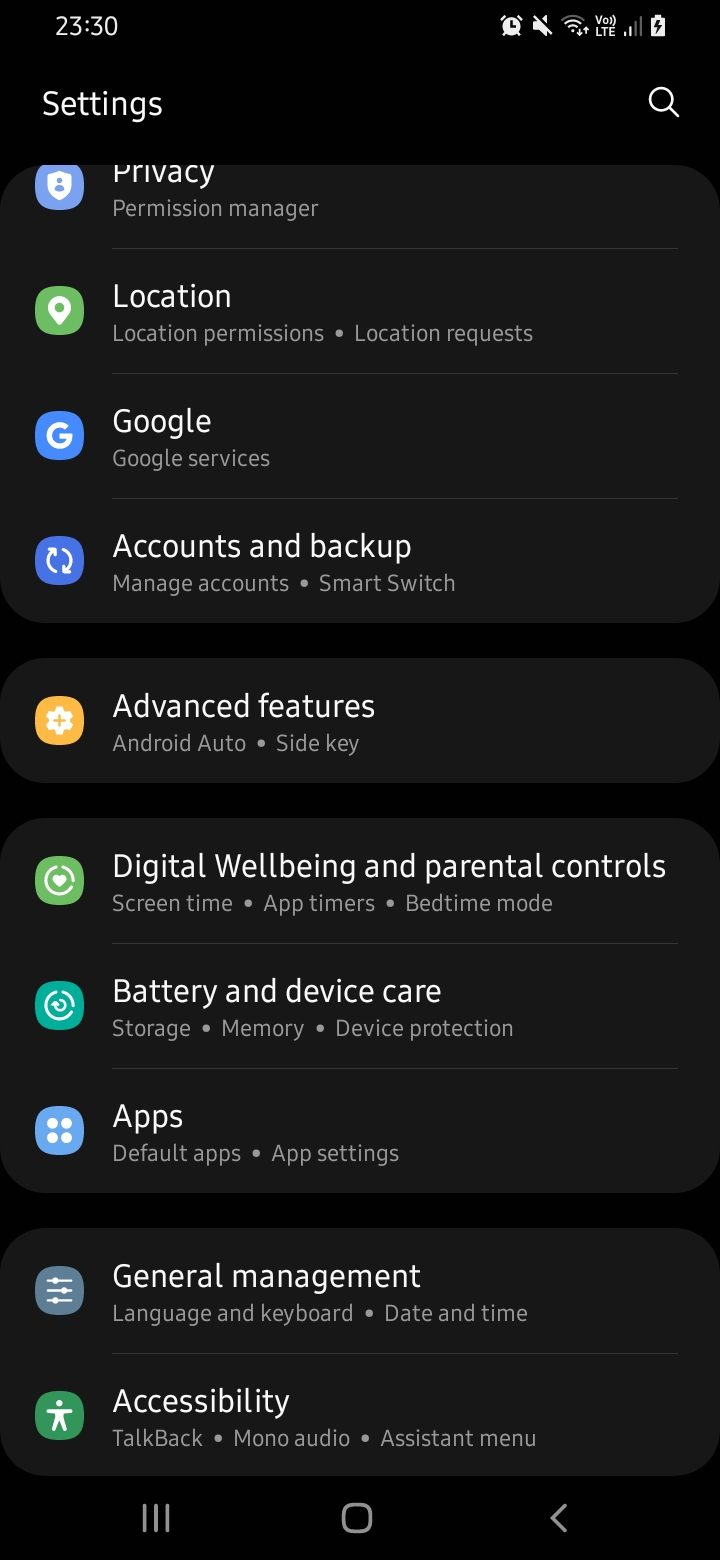
Tap on Apps (depending on your device you may need to tap on Manage Apps as well) and then you will see a list of all of the current applications that are on your smartphone.
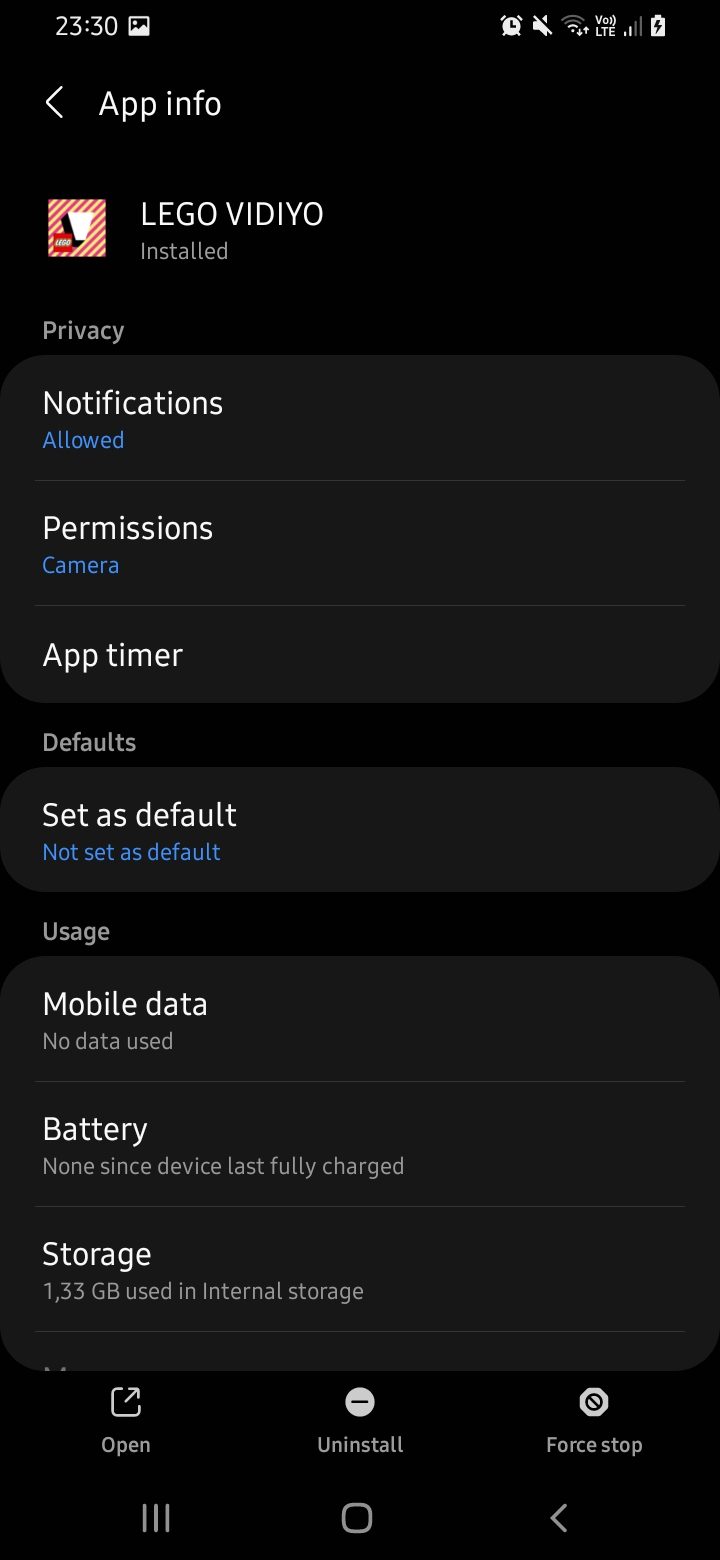
When you see one that you don't use or need anymore, simply tap on it and then when it opens up you can tap on Uninstall. This will take it off your phone completely and you will now have some extra space.
To get rid of all of the cache files on your smartphone, you can navigate to Settings, and then go to Storage and then tap on the Cached Data and select Delete when the pop-up window appears telling you that this action will clear all the cached data for all the apps.
However, for some smartphones this option may not be available. Another way to clear the cache is to power off your phone completely. Then, once it is completely off, hold down the power button and the volume up button simultaneously until the phone goes on.
Once it starts up it will open up the Recovery menu. Use the volume keys to scroll down to Wipe Cache Partition. Then use the Power button to confirm that you want to wipe the cache. Once done, use the volume up key to move to Reboot System now and confirm by pushing the power button. This should provide a marked improvement in the speed and working of your device

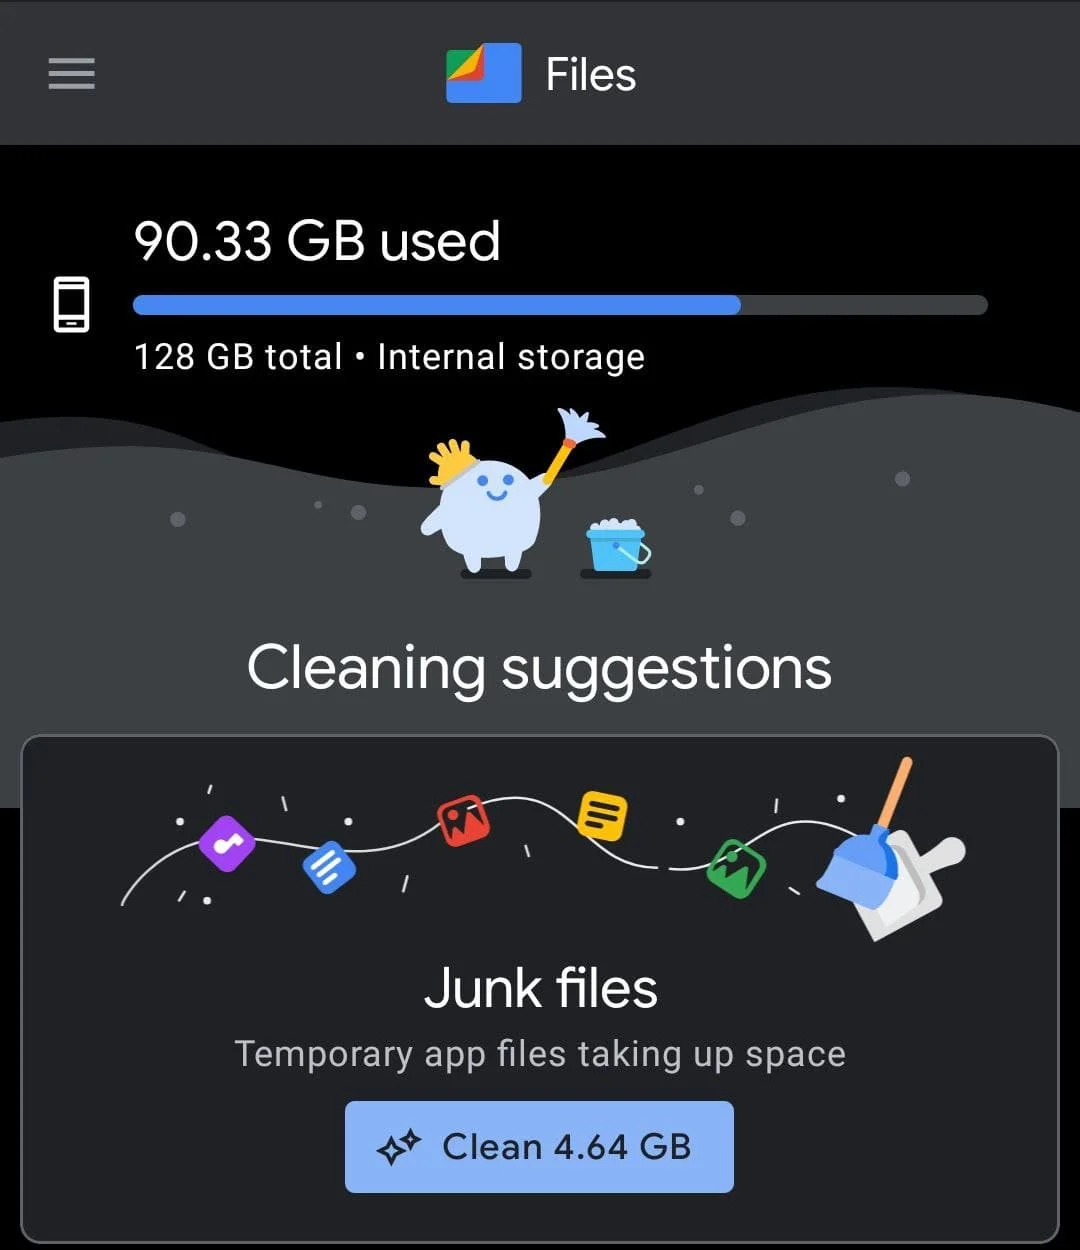
One other way to clear out all the old rubble is to install the app Files from your Google Play Store and once it is installed, open the app and then tap on Clean. Next, tap on the Confirm button and then on Free Up to clean up all those unwanted and musty old files.
Deleting Your Unimportant or and/or Old Files
Not only do you end up with a lot of junk files, but you can also end up with plenty of duplicate files such as images that you saved more than once or documents that you didn't realize you had on your phone and ended up saving a second (and perhaps even a third or fourth) time.
Often times we just aren't aware of all the excess of duplicates or unused files which we have accumulated. These also take up precious space and need to be eliminated as often as possible.
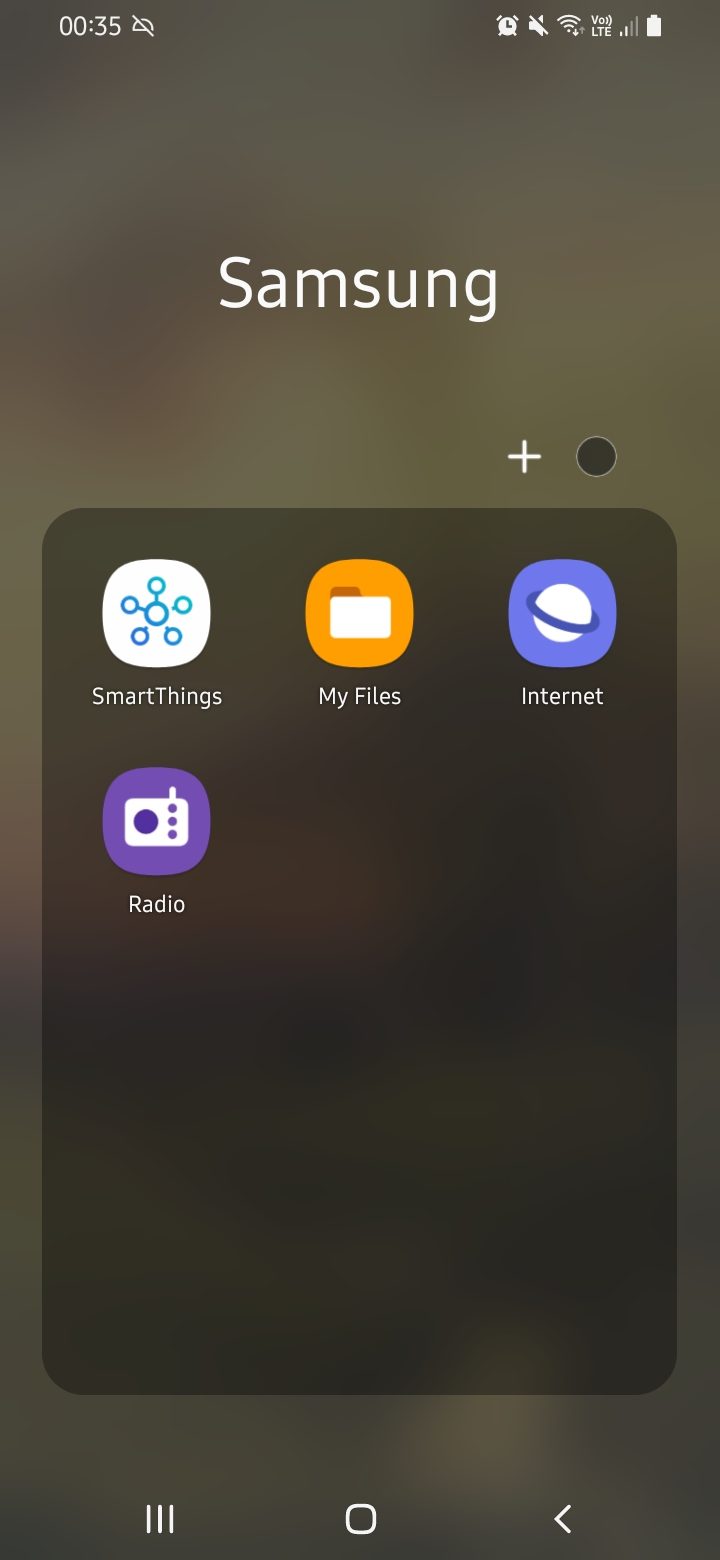
To do this, you can navigate to the menu screen on your phone and open up My Files -- this could also be called Files, depending on the type of phone you have.
Once inside the folder you will be able to access all of your images, media, documents etc.

You can open up any one of the options (such as images or documents) and then you can scroll through them and when you find one you want to delete, tap and hold to select it. If you wish to select more than one file, tap and hold and then you can just tap on each one you want to delete to select them.
Once you have all the files selected that you want to delete, simply tap on the Delete button at the bottom of the screen. Confirm by tapping on the Delete button again. This will remove the file completely from your phone so be sure that you have selected the right files before you go ahead and hit delete.
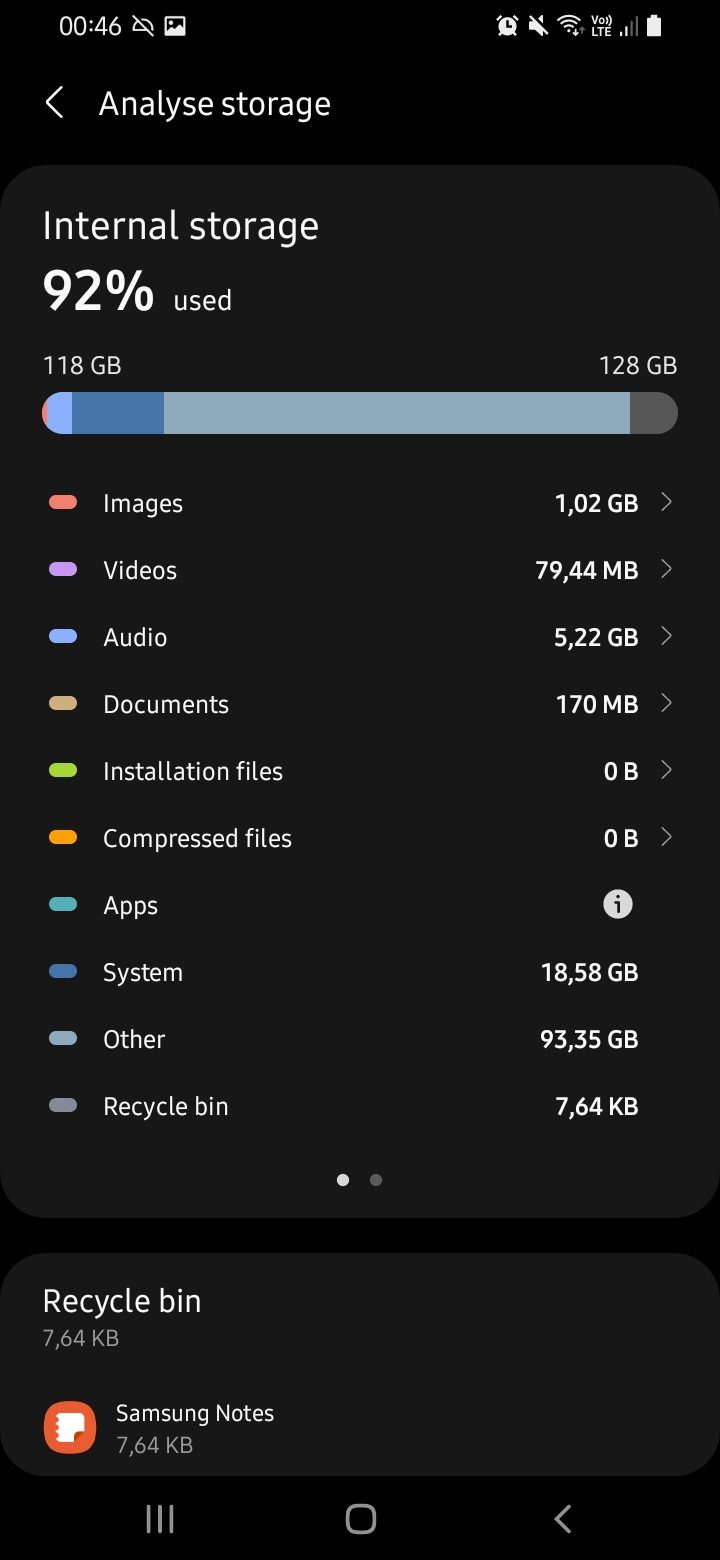
You can do this with your Downloads folder as well as the Documents and Audio folders etc. Once you have gone through all of them it should have freed up quite a lot of space. You can also tap on the Analyze Storage button and it will show you exactly where all your space is being consumed.
Segmenting Your Files
One of the most frustrating things to have to deal with is trying to send a file to someone but not being able to because the file is too big to be sent via email from your phone.
The best way to get around this is to download and install a program called File Splitter and Joiner and use this to split big files into smaller pieces in order to send it and then just to join it up automatically on the other side.
Before you can download the program on your smartphone, though, you will need to enable side-loading on your phone. To do this, go to Settings and then tap on the search icon (depicted by a magnifying glass) and type in Special Access. Then tap on the Install Unknown Apps and then select the browser which you will be using to download the program from.
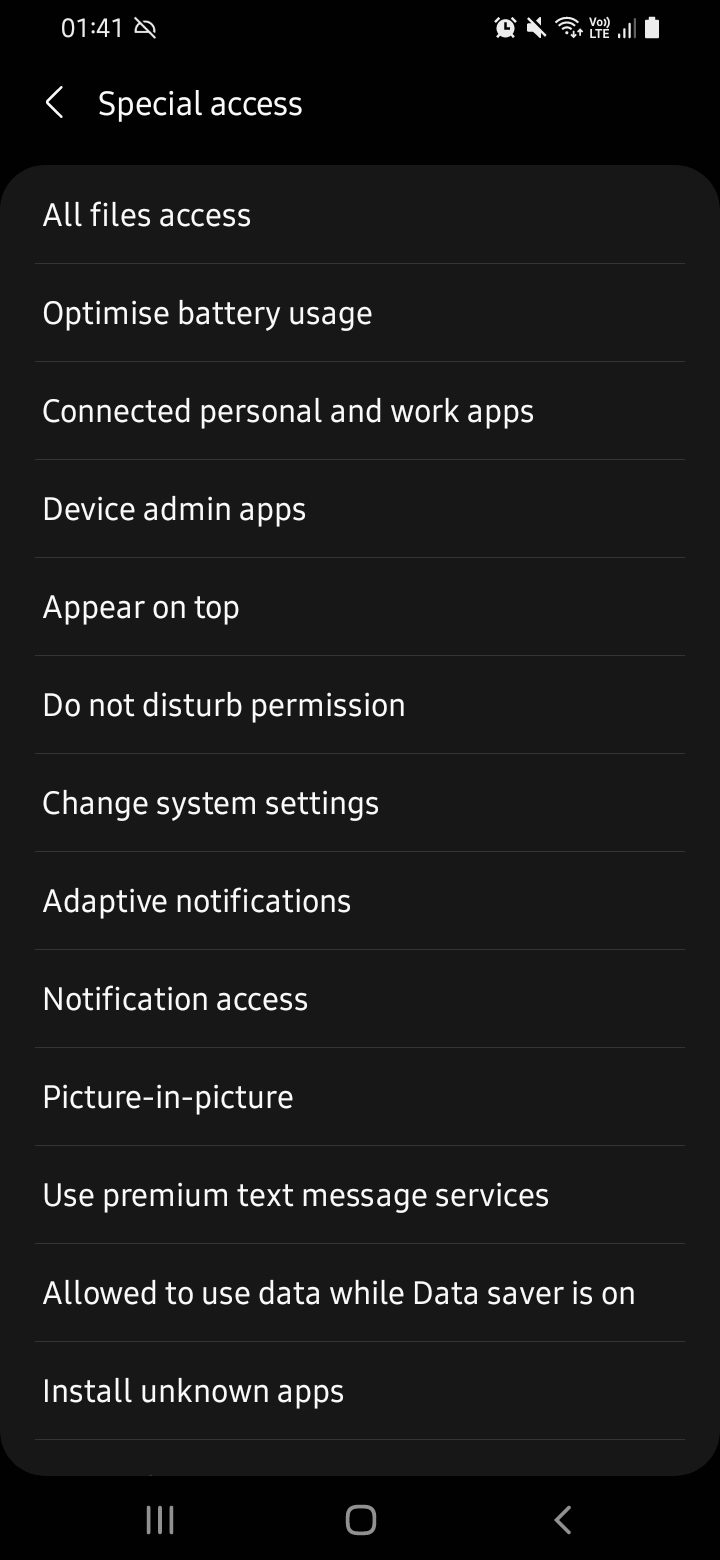
Now all you need to do is to toggle the switch next to Allow from this source to the On position and then go back to your home screen, open up your web browser and download and install the app from the link above.
Open the app and then swipe right from the left of your screen to open up the menu bar. You can then open the Settings and configure the app to your specific needs. It would be a good idea to enable the Create self joining batch option as this will automatically join the file on the other end.
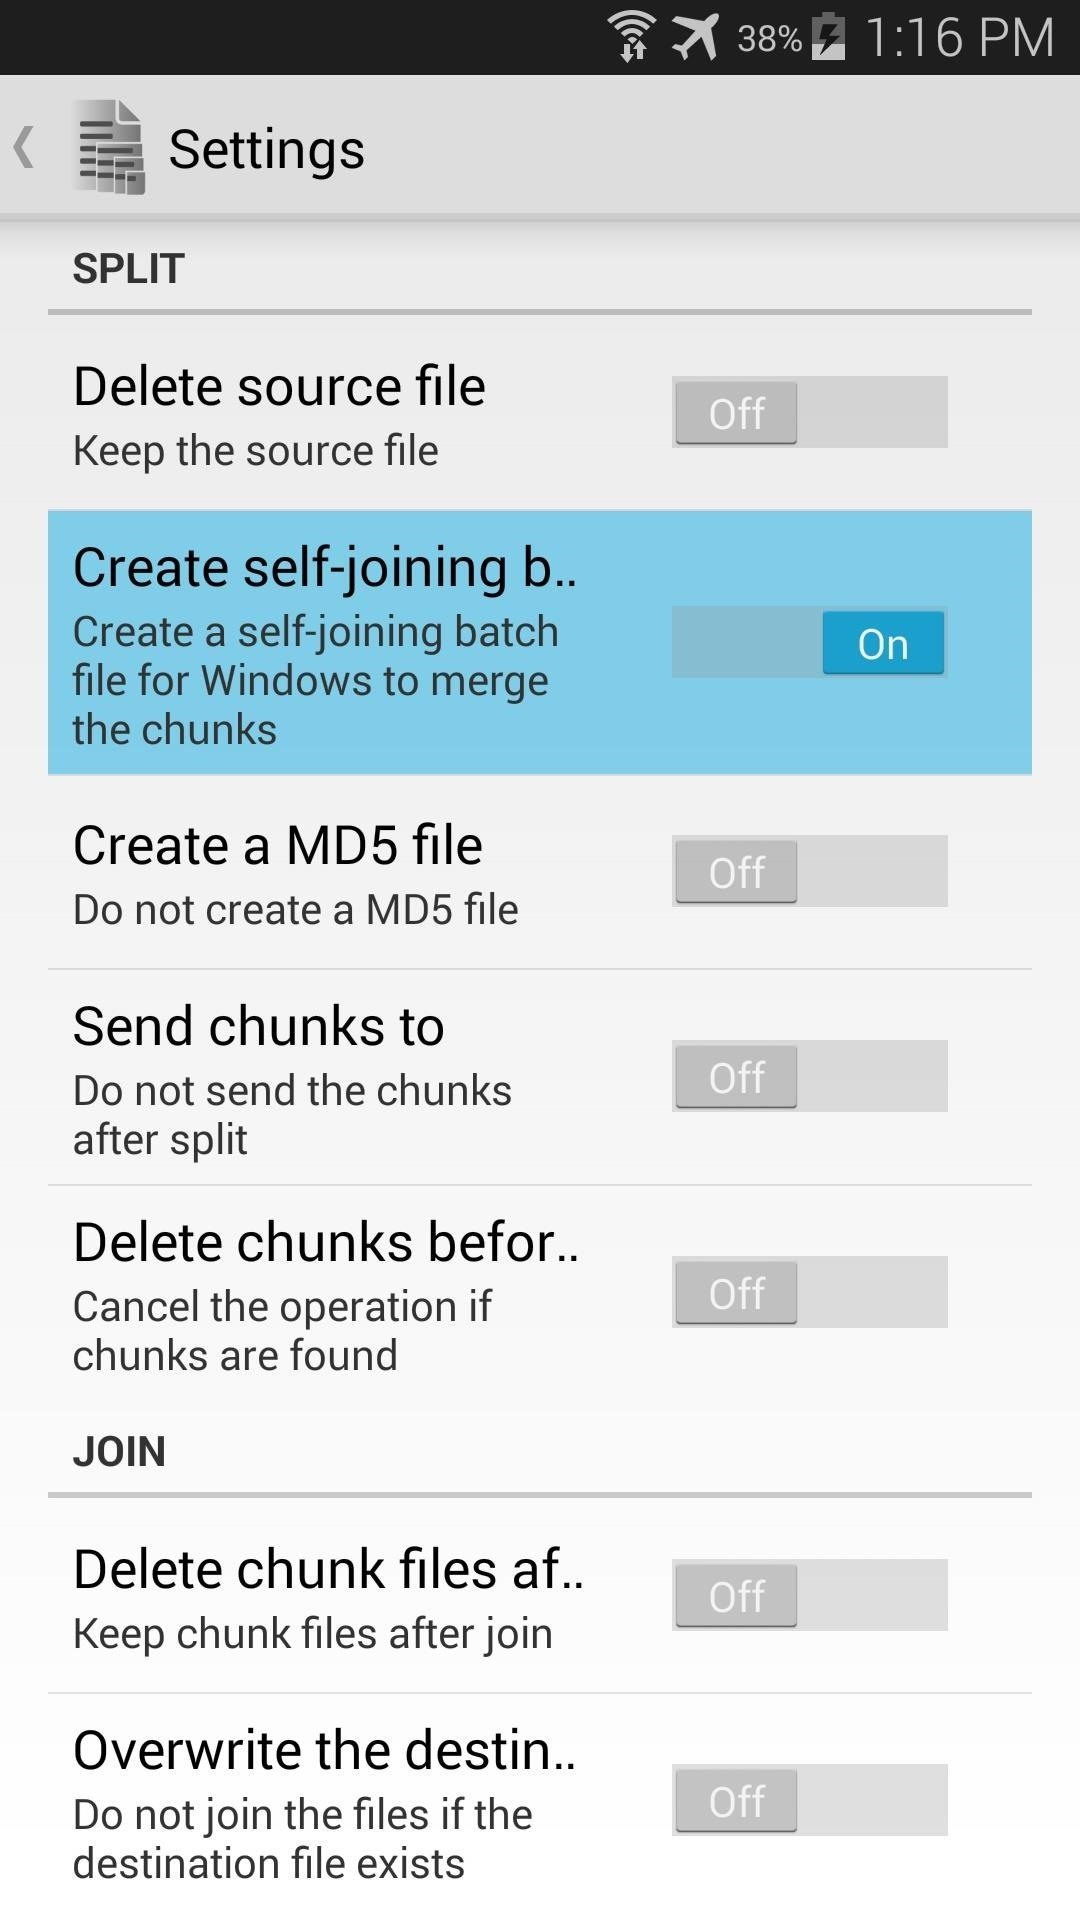
In the menu option, select Split and then select a source file and select it by tapping and holding down and then it will be queued up for splitting. You can split the file into automatic chunks or else customize the size.
Once you've made your selections, simply tap on the destination folder to select where you want the file to be sent to, and then tap on the file icon in the top right hand corner of your screen to start the splitting process.
To join the files on the other end, simply open up the File Splitter and Joiner app on the other device, select Join and then tap on the folder icon to select any one of the split pieces. Now simply tap on the Join button and the file will be put back together again before you can say Humpty Dumpty.
Properly Backing Up Your Key Files
Last but not least, you need to always remember to back up all your important documents, files etc to ensure that nothing will be lost should anything happen to your smartphone. You can do this quite easily by simply making a backup of everything to Google Drive or to your Cloud account.
All you have to do is navigate to Settings, then tap on Accounts and Backup and then select Backup Data. Depending on the kind of phone you have, you may have to navigate to System, then tap on Advanced and then on Backup. It is crucial to do a backup to more than one place, though, as it is safer to have more than one copy of a backup.
Added to this, you also need to ensure that your device is always updated to the latest software, as this will give you added protection against hackers or malware.
As always, if you're needing any kind of additional help with the basics of file management on your smartphone, consider reaching out to HelpCloud technicians for remote support.

