The year 2020 has certainly been a year of great change and many challenges! What with all the many changes and challenges that have to be tackled and faced, poor Wi-Fi should be the last thing that we need to concern ourselves with.
That being so, and the situation of the world being what it is, we depend on having internet throughout the house but unfortunately, with more and more people having to work from home and a greater demand for more connected devices, there are times when the Wi-Fi just won’t reach to all corners of the house.
When this happens, it means that it’s time to get yourself a Wi-Fi range extender. This will allow for not only good bandwidth but also a steady amount of that good bandwidth.
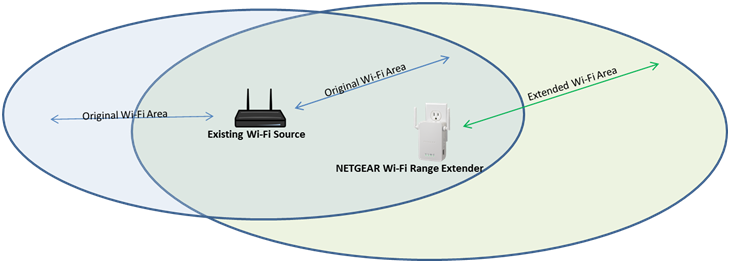
A range extender is very aptly named. What this does is pick up your router’s current signal, amplifies it and then rebroadcasts that extended and boosted signal. This means that if there are areas in your home that have poor signal, they will now get a much better signal (if not perfect signal) once the extender is set up and installed. Read our post on the difference between a Wi-Fi booster and Wi-Fi extender. Additionally, read our post if you want to learn how to set up a Wi-Fi extender for the best possible signal.
Range extenders are thoroughly tested to make sure they meet the functional requirements and the Netgear Wi-Fi extender is no exception. These extenders are generally universal extenders, which means that they are compatible with just about all wireless routers that are currently on the market.
That said, it is important to note that some extenders operate on both the 2.4GHz band as well as the 5GHz band. Be aware that if your router only operates on the 2.4GHz band, performance may vary depending on which brand is used.
The best place to position your extender would be in the area where the router signal is not strongest, but still within the wireless range of your router. The idea is to boost the signal where it is weakest, but to do so you still need to have the extender within range of the router signal.
How to Set Up Netgear Wi-Fi Extender
The Netgear Wi-Fi extender is, thankfully, not that hard to set up. There are a few things to note when going through the steps, though, to make sure that everything operates smoothly once the setup is complete.
The most important is that when you are pairing your extender to your router, you need to make sure that you plug the extender into an outlet close to your router. This will ensure that the extender will pick up the strongest signal from your router and will make the configuration all the more swift and easy.
You will also need to use the computer or your mobile device for this original setup so be sure to have either one of those devices handy.
And now, simply follow the steps below to get your extender up and running!
Firstly, plug your NETGEAR Wi-Fi extender into the wall socket nearest your router. If you are using an ethernet cable instead, simply connect one end of the cable to your computer and the other end to the extender. Make sure to press the On/Off button located on the side of the extender, so that the extender is now turned on.
Next, you will need to wait until the Power LED light comes on and stays solid green. If the light doesn’t come on, turn the Power button off and then back on again — as silly as this sounds, it does work!
Now you will need to use your computer or phone (or whichever device you are using) to connect to the NETGEAR_EXT wireless network. This is known as the SSID — the technical term for the network name which stands for “Set Service Identifier.”
In the bottom right-hand corner of your screen, you will see the Wi-Fi symbol.
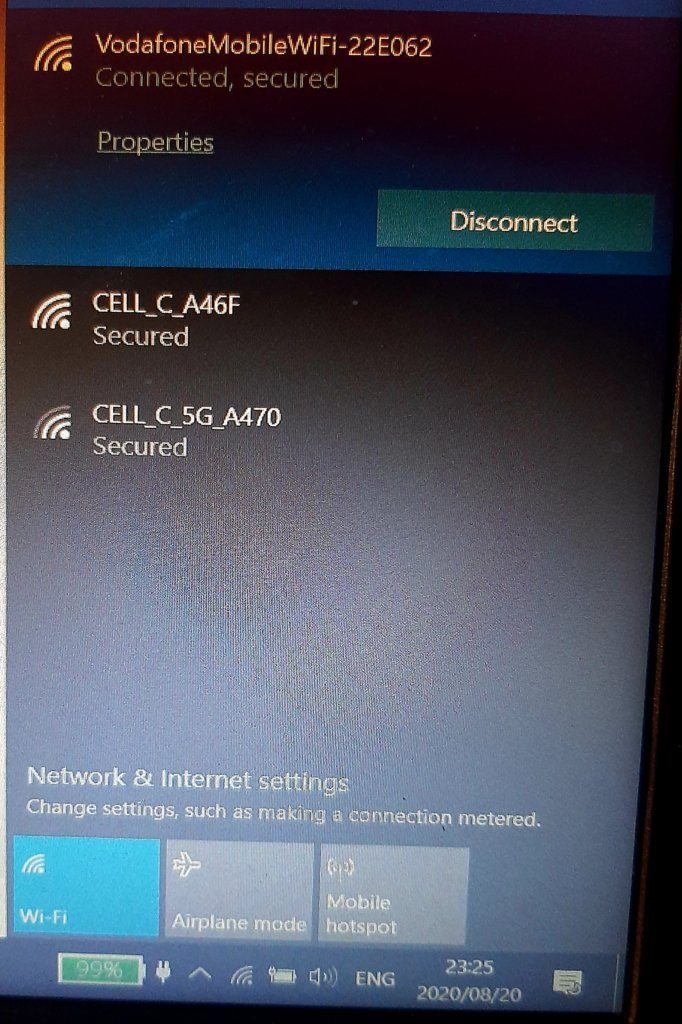
Click on this and then choose the NETGEAR_EXT network to connect to. As soon as your device is connected to the network, the Device LED light on the extender will go green.
Open up an internet web browser on your device and type in http://www.mywifiext.net. This will bring up the following screen:
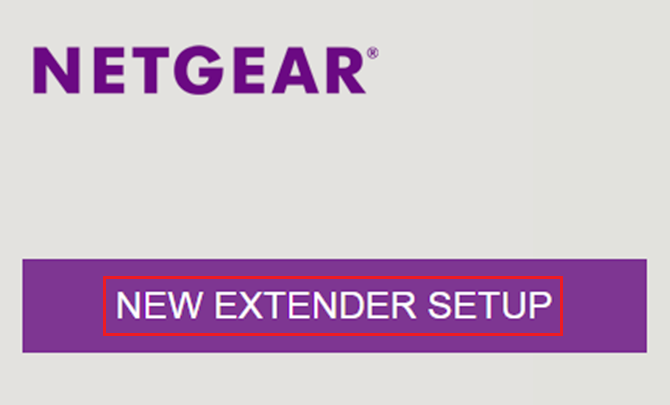
Click on the New Extender Setup and fill in all of the required fields. You may be asked to accept the terms and conditions. If this happens, click on the Yes or I Agree button.
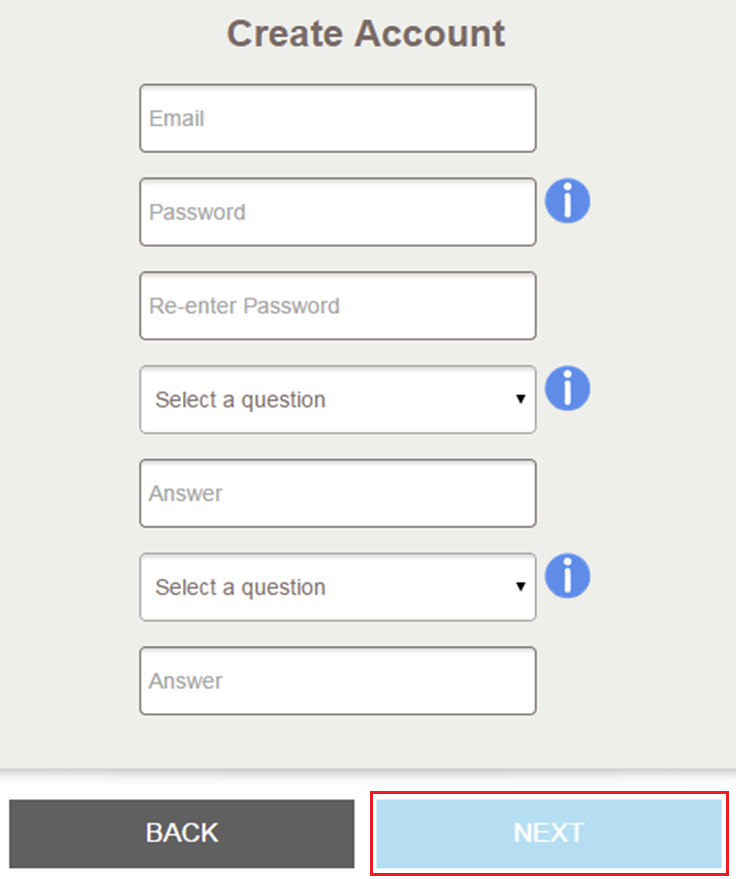
Once you have filled in all the fields, click on the Next button. The next screen will ask you what you would like to use your extender for…whether as a range extender or as an Access Point. Click on the Wi-Fi Range Extender button.
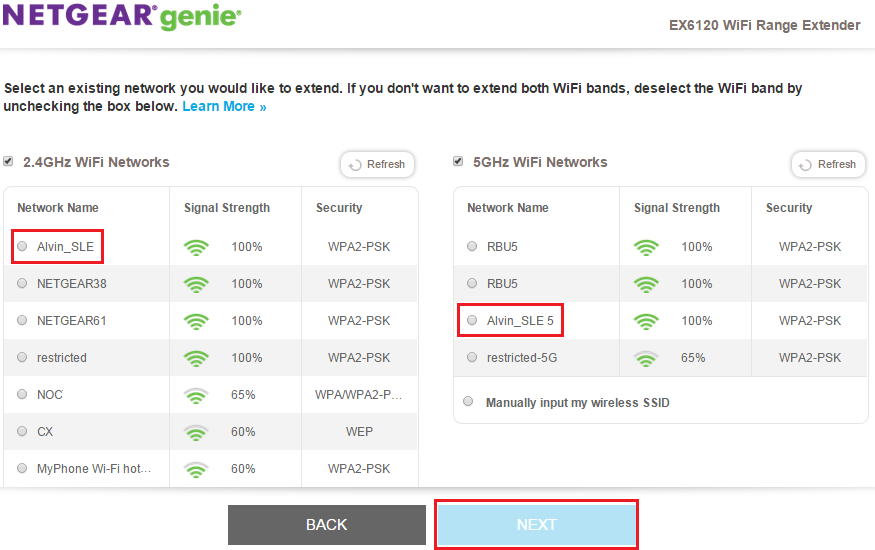
You will now need to choose which Wi-Fi network it is that you want to extend. Note that it gives you the option to extend the range on both the 2.4GHz as well as the 5GHz bands. If you only want to extend the range for one of those, simply uncheck the checkbox next to the band that you do not want to extend. Once you have selected the network you want to extend, click the Next button.
Now you will need to enter your Password (Network Key) and then click the Next button. You’re going to now be asked to enter your preferred network name and security settings. You can use the suggested network name or else you can enter a new one. Normally, the extender will automatically add _EXT, _2GEXT, or _5GEXT to the end of your network name, and use the same password as your router’s Wi-Fi.
If you are going to be using a new name and passkey, be sure to make a note of it somewhere because you will need it in just a moment when you move your extender to a new location. Once you have done this, click on the Next button.
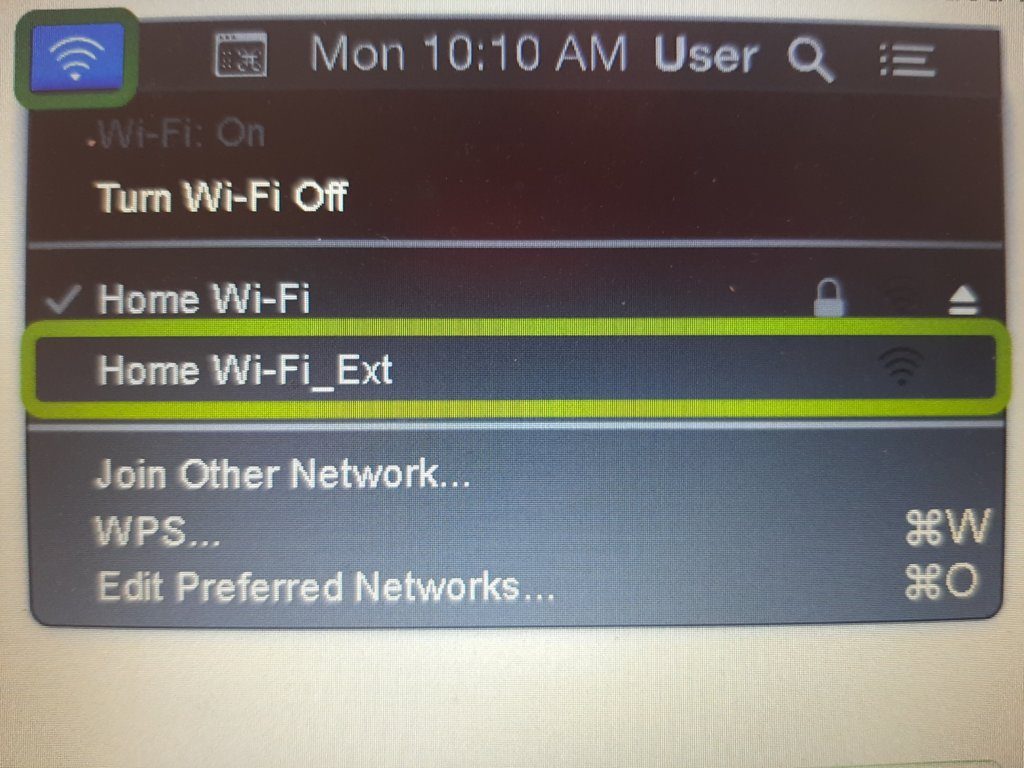
You will now need to connect your device to the Wi-Fi extender’s network. This can be done the same way as if you were connecting to your main Wi-Fi connection. Just click on the Wi-Fi icon in the bottom right-hand corner of your screen. Next, select the extender’s network.
Once you have done this, click on the Continue button. This will take you to the following Registration page:
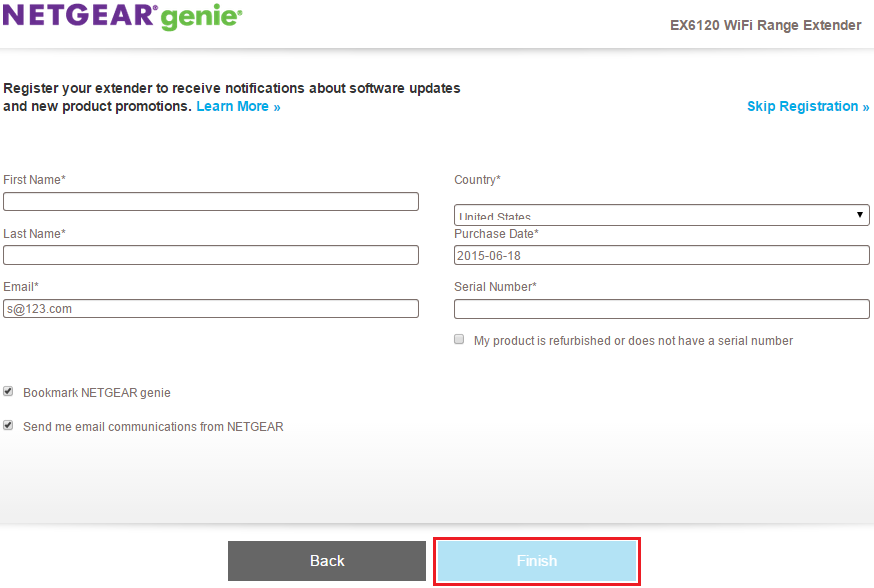
It is not necessary to complete this registration as it is only if you want to receive notifications about new software and updates etc. If you do not want to complete the registration then you can just click on the Skip Registration on the right-hand side of the screen.
Once you click on Continue, the setup will be finalized. Depending on the system you are using you may receive a message saying that it is complete and a Finish button may appear. If it does appear, click on this and that’s the hard part all done and dusted.
Let It Extend
Now that you have set up your extender, it is finally time to test it out! You are now able to unplug your extender and move it to the area that needs a better signal. Make sure that wherever you are moving the extender to, it is not outside of the range of your router.
When you plug the Wi-Fi extender in, it will need to boot up and you will have to wait for the LED lights to turn green before you try to connect to the extended Wi-Fi network.
Once the lights on the extender turn green, you can then use a device to connect to the new extender network by once again going to the bottom right-hand corner of the screen and clicking on the Wi-Fi icon. In the pop-up menu that appears, click on the extender’s network and then click Connect.
It does take a few minutes just for the device to connect to the new network and then it will ask you to enter the passkey for the network. This will be the Wi-Fi password, or passkey, which you entered when setting up the extender — the one we suggested you make a note of because you would be needing it later.
Next, you just click Connect and you will then be connected to the new extended network.
The End of the Matter
At the end of the day, being able to connect to the Wi-Fi in all corners of your home will be worth the ten or fifteen minutes it takes to set up and configure your new range extender.
The bonus is that once you have done the initial setup, you will be able to move your extender to anywhere in the house as long as it is still within range of the router’s signal, as previously mentioned.
There are many reasons why it is useful, and even important, to have one of these nifty devices. One of the main reasons is so that the Wi-Fi signal will reach further, and be stronger, no matter where you are in the comfort of your home.
That said, it is most important to know that it will not be a good idea to try and install more than one range extender in your home because if you try to piggy-back the extenders off of each other, the bandwidth speed will be much slower and this is something that you want to avoid.
As always, if you are having any kind of difficulty with the setting up of your NETGEAR Wi-Fi extender, consider reaching out to HelpCloud Technicians for remote support to help resolve the issue.
