There is something about human nature that craves personalization.
No matter if it’s with your house, car or the software you use, it’s nice to have the things you interact with cater to your preferences. With Windows 10, you won’t have to deal with any one-size-fits-all settings. Your PC is made to help you take advantage of personalization like you’ve never experienced.
Microsoft Account Versus Local Account
First things first, there are two types of PC accounts you can choose from. You should decide what account type is right for you before you power up your computer for the first time.
Local accounts work on individual devices only. When you sign into a PC, you will need to use a unique username and password to access content. You can still download apps and personalize your user settings with a local account; however, the settings you establish won’t be shared across your accounts.
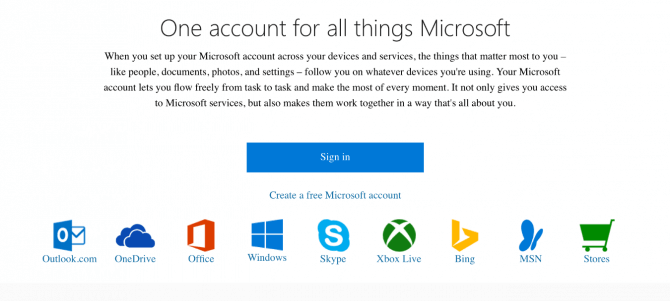
If you have a Microsoft account, you can easily download applications from the Windows Store, sync your preferences across your devices and take advantage of other Microsoft perks.
If you are having any kid of difficulty deciding what type of account you need, consider reaching out to HelpCloud Technicians for remote support to help you find the account that’s suitable for your unique situation.
The ‘Out of the Box’ Experience
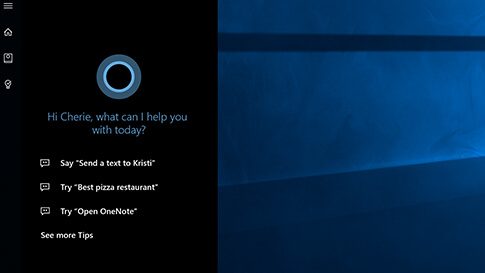
Microsoft is known for its “Out of the Box Experience” (OOBE). As you power on a new PC for the first time, your computer will guide you through a series of setup screens that ask your preferred language and so on and so forth. Depending on your device, Cortana, Microsoft Windows 10’s personal assistant, may narrate the setup screens as they display.
Once you’ve navigated through the setup process, a default desktop will appear. Right click anywhere on the default desktop and click “Personalize.” A Windows 10 “Settings” menu will open, and you’ll click “Settings,” “Personalization” and “Background.”
You can then select a default or personalized background image. Next, look to the bottom left-hand corner of the menu and click “Themes.” You can look through many free and paid themes and see if any align with your aesthetic goals.
Another thing you can personalize is the brightness of your screen. Under “Settings” and “Colors,” you can pick from either a dark or light theme. The dark theme will mute colors and have an overall dimmer appearance. The light theme will increase the light shining from your computer, making it easier to see.
Start Menu Customization
Your “Start” menu will begin as a default, but there’s a ton of ways to make it fit your personal style. First, play with the size of your menu. To do this, click the “Start Menu” button that’s represented by the Windows’ icon. When you move your mouse over the top edge of menu, you should see a double-sided arrow.
As you click and drag up or down, you will be able to change the size of your menu. If this still isn’t big enough, you can also make your menu full screen. To enlarge, click the “Start” button then tap “Settings,” “Personalization” and “Start.” Next, flip the toggle under “Use Start full screen” to the on position.
Changing the color of your “Start” display is another option. Go to “Settings,” “Personalization,” “Colors,” “Show color on Start,” “Taskbar” and “Action center.” You can then look through the accent colors and pick from any of the options. After your colors are just right, you might find that you would like to customize the tiles that display on your menu.
To resize a tile, right click and select the “Resize” option. For most apps, you can choose from small, medium, large and wide. To rearrange your tiles, click on the tile you want to move, hold it and then drag and drop it to where you want it to display.
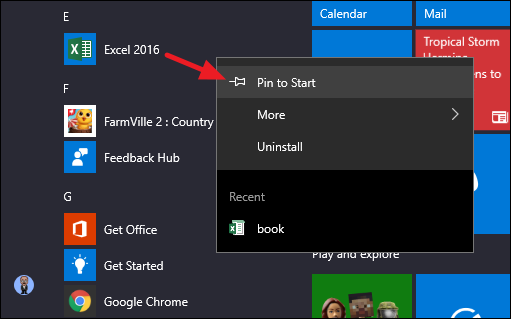
If your menu begins to feel busy, you can clear it out with menu folders. When you drag one tile on top of another, a folder will be created. You can rename folders and then drag and drop similar apps to match various categories. To remove a tile completely, right click and select “Unpin from Start.” Alternatively, if you want to add an app to your menu, right click on it and hit “Pin to Start.”

On the left-hand side of your menu, you’ll see standard app lists, like “Recently added” and “Most used,” but these defaults can change. Go to “Settings,” “Personalization” and “Start.” Under “Show app list in Start menu,” “Show recently added apps” and “Show most used apps” you can turn off any defaults you don’t want to see in your menu.
Understanding and Creating Personalized User Accounts
You can have multiple accounts on your PC. The option to have various user accounts is helpful for a variety of reasons, especially if you share the computer with other people. Each user can decide what elements they want to be present in his or her setup.
To start learning about accounts, login to your personal account. To see your settings, click on the “Start” menu and select “Settings.” On the window that appears, go to “Accounts,” and you should be able to see your account.
Generally, your account type will be administrator, meaning you have special privileges. Admins can create other users, delete other users and more. In general, you only want few people, if not just yourself, to have administrator privileges.
You may also see a message that says, “Windows is better when your settings and files automatically sync. Use a Microsoft account to easily get all your stuff on all your devices.” Below this message, you can sign in with your Microsoft account and add a photo to your profile.
From the left-hand menu, you’ll be able to click through various sections of your profile. Under “Email & app accounts,” the accounts that you use on your current device should display. Understanding what information your computer has access to is key to safety and efficiency.
Another useful part of the “Accounts” menu is “Sync your settings.” Under this banner, you can choose how you want your device to sync with your Microsoft account. “Sign-in options” has many useful features, too, like your password settings, time-out duration and more.
Under “Family & other people,” you will see all the users who are allowed to access your device with their own accounts. As an administrator, you can see and manage other users’ personal settings.
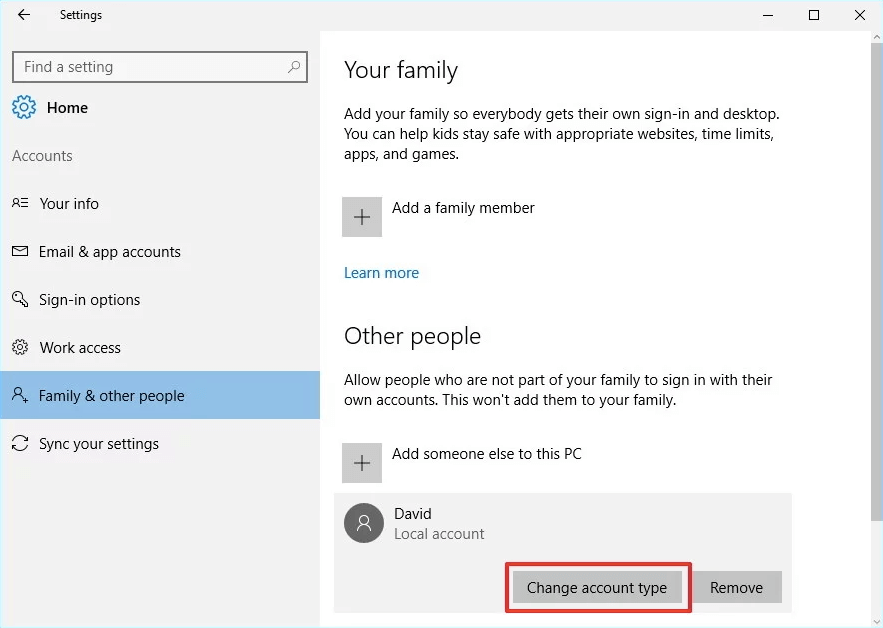
To create a new user, click “Add someone else to this PC.” You will then be prompted to provide the email address or phone number of the person who will be added. To remove an account, you need to click on a user’s account and select “Remove.” To alter another user’s privileges, you can click “Change account type.”
Lesser-Known Customization Features
Almost every Windows user is well aware of the “Start” feature. However, what many don’t know is that when they right-click on the start menu, shortcuts appear. You can find all the content on the right-click start menu by searching, but sometimes it’s faster to access various things by only clicking once.
Under “Start” and “Settings,” find your “Storage” tab. Here, you’ll be able to see an overview of your current drives. As you click into various drives, you’ll notice what files are clogging up your memory and possibly slowing down your computer.
Another way to make your computer more friendly is with sticky notes. Windows 10 comes preloaded with an application that lets you create sticky notes and post them to your desktop or save them to your computer. You can then customize your notes and stay organized.
One amazing feature Windows 10 offers with this note-taking program is an integration with Cortana. To enable this feature, you click the three dots on the right-hand corner of a sticky followed by the “Settings” icon. On the menu that pops up, turn on “Enable insights.”
When this feature is on, your computer will look at the contents of your notes and show you more information. So, if you type, “Take the grandkids to soccer practice tomorrow,” Windows 10 will ask you if you’d like to create a reminder for yourself.
Windows also has remote assistance to help you personalize your computer. Windows users can easily give or receive assistance from others when there are issues to troubleshoot on a PC. To access this, search “Remote assistance” and open the option that says something similar to “Invite someone to connect to your PC and help you, or offer to help someone else.”
You will then choose your helper and decide what he or she can view from your computer and share with you. A remote support agent can then work with you to show you how to change your settings, troubleshoot email issues, etc.
It’d be silly to discuss the best secret features and customization options without mentioning how the “master control” can help you make your account your own. To access the master control, create a new folder on your computer and rename the folder to the following string of code: “Everything.{ED7BA470-8E54-465E-825C-99712043E01C}.”
Another really useful tool that can help you take full advantage of your PC is the snipping tool. With this built-in program, you can easily highlight and take photos of your screen. To find this application, go to the “Start” search bar and type in “Snipping tool.”
To use the program, hit “New” and highlight your area of interest. You can also decide what type of image you want to be taken, like a “Rectangular Snip” or a full window snip to customize your screenshots.
Make It Your Own
The world is a better place with a little customization, don’t you think?
There’s just something reassuring and wonderful about interacting with systems that cater to your wants and needs. With Windows 10, and a little assistance from HelpCloud, you can create your perfect PC.
