The benefits of having a camera phone are nearlyendless …
First things first, smartphones with cameras are veryconvenient. Americans look at their phones about 80 times daily. It’s notuncommon for people to have a phone on them around the clock, which meanspeople can also take a photo whenever a memory worth saving occurs.
After taking a photo, a smartphone can connectto the internet or a USB cable; once connected, it’s easy to upload and sharephotographs. You can also share your photos within seconds through texts,emails, social media and more.
If all this weren’t enough, smartphones take quality images that you can edit either on a camera phone or another device. Simply put, a phone with a camera simplifies life, is beneficial for aging in place and keeps you in contact with the world around you.
iOS to PC Via USB
It’s not uncommon for a PC ownerto use an iPhone. Although iPhone’s mobileoperating system (iOS) pairs best with Apple’s operating system (MacOS), itstill works well for PC users and the Windows operating system.
To start, you need to download iTunes. Youshould be able to access iTunes for free from Apple’s website. After you type “www.apple.com/itunes” into a webbrowser, like Microsoft Edge, you can click to download iTunes.
The next step is to open the download. From yourStart menu, click your user name. A “Downloads”folder should then open. You may also be able to use the “Tools” section of your web browser tosee your internet downloads.
Once you see an iTunes file, often titled “iTunes6464Setup.exe installer,” launch thefile. You will go through installation instructions and agree to the terms andconditions. iTunes will then be on your Windows operating system. With iTunes,you’ll be able tomanage your files, download photos and backup your iPhone from your PC withease.
To connect your phone to your computer with aUSB, you will hook up the matching sides to your iPhone as well as yourcomputer. When you do this, a Photos app should launch. If not, you can openthe program from your search bar or main menu. If you have a passcode on youriPhone, you will need to unlock it to proceed.

Within the Photos app, look to the upper-rightcorner and click the “Import” button. Onsome versions of the application, the “Import” button is an icon of a box with a downward arrow. Youcan select individual photos to upload or can upload all of your photos fromyour iPhone to your computer.
After you’ve selected your desired content, click “Continue.”A pop-up message may ask youif you want to delete the photos stored on your iPhone after they’re uploaded. You may choose todo this, but you might want to backup your images first.
iOS to MacOSVia USB
With an Apple computer, it’s easy to upload your photosvia USB. First things first, your computer should come with iTunes alreadyinstalled, so you won’t need totake the time to download this application.
With or without launching iTunes or the Photosapp, use a USB cord to connect your computer and your phone. The Photos appshould launch automatically once a secure connection is established. If theapplication doesn’t open, youcan launch it from the Applications folder or Launchpad.
Once Photos is open, either click “Import New” or select the individualphotos you want to transfer to your computer. There is a checkbox option to “Delete items after import” if you want your iPhone to bewiped after the files are on your computer. Again, it’s generally best to backup thephotos before deleting them so they don’t get completely erased if something goes wrong.
A good thing to keep in mind is that it’s easy to share, favorite andedit your images once they’re on yourApple computer. When you hold down “control”and click an image, a menu will give you several options and actions youcan carry out in regard to an image.
Syncing FromiCloud to Windows
Using iCloud to transfer photos from your iPhoneto your PC is a great way to save time and hassle. To start, you need to set upiCloud on your iPhone. When doing this, it’s best to be running thelatest version of your operating system. To see if you’re eligible for an upgrade, goto Settings and hit “SoftwareUpdate.” Then,download the update if it’s an optionfor you.
After your operating system is updated on yourphone, go to your “Settings” icon and signin with your Apple ID. After you log in, iCloud will automatically power on. Ifyou don’t have anApple ID, you’ll want tocreate one.
For help creating an Apple ID or troubleshooting your ID, reach out to HelpCloud. Chances are you already have an account, as you often need one to set up a new iPhone.
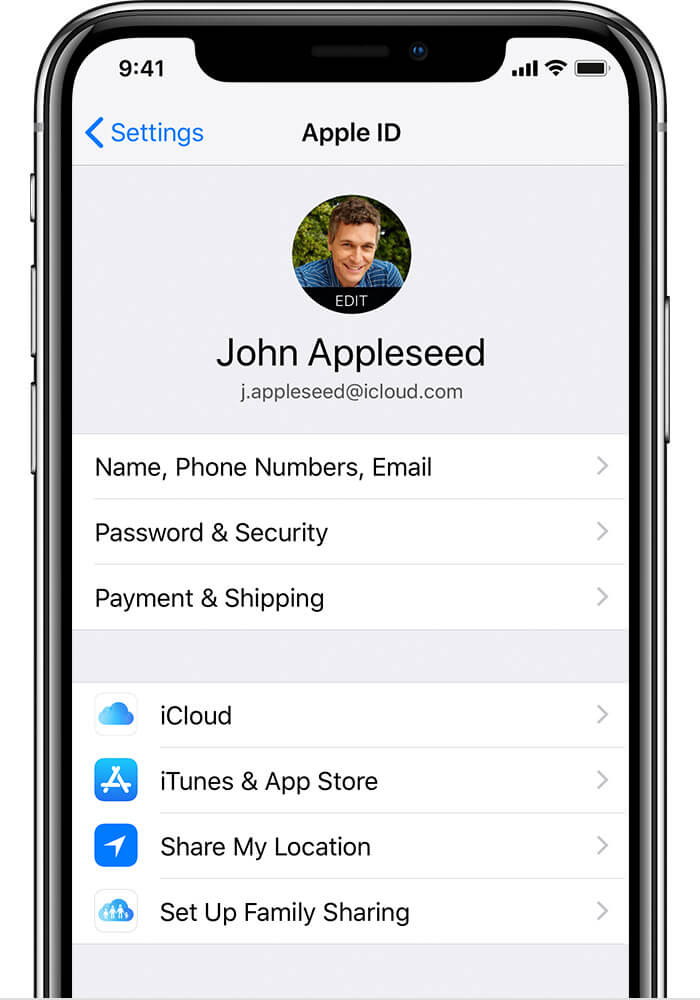
Back under “Settings,” click on your name and then “iCloud.” You will then be able todecide which applications should work with iCloud. At this point, make sure thePhoto app reads “On.” Next, headback to your computer. If you don’t have iCloudalready, click here to download it for Windows.
Once downloaded, open the file and look for thesection that says “Photos.” Close to the “Photos” section, it should read “Options.” Click on “Options,” followed by “Select iCloud Photo Library” and “Done.” You may also need to click “Apply” to save your settings.
To upload wirelessly, open a File Explorerwindow. The fastest way to access this file is by pressing the Windows icon and“E” on yourkeyboard at the same time. Under the “Favorites” section, click iCloud Photos. Hit “Upload photos and videos” and then select the media youwant to upload.
iOS to MacOSThrough the Cloud
There are two easy ways to add photos from youriCloud to your Mac. To begin method one, open System Preferences on yourcomputer. Select iCloud from the menu that opens and hit the “Options” button next to Photos. Clickthe box next to “iCloud PhotoLibrary” and then “Done.”
You may also want to read the “My Photo Stream” and “iCloud Photo Sharing” boxes to seeif you’d like themto be selected, too. When you open your Photos application on your computer,you should be able to see all the photos from your iCloud account.
A second way to download photos to your computeris through iCloud’s website.After visiting iCloud.com on your browser, sign in using your Apple ID. UnderPhotos, scroll through your library and select the images you want to download.
To select more than one image, hold the “control” button while you click thefiles of interest. Then, hit “Download” in the top right of thescreen. All of your desired photos will shortly appear in your downloads.
AirDrop iOSto MacOS
AirDrop is one of the most useful Applefeatures.
With this application, you can send documents,map locations, photos and more wirelessly. On your computer, click “Go” at the top of your screen,open AirDrop and make sure it’s turned on.It’s also a goodidea to check the “Allow me tobe discovered by” option in thebottom of the window so you can easily share and receive files with friends.
On your iPhone, open AirDrop from your Settingsand turn it on. Another way to do this is from your iPhone’s home screen. After you swipeup, a menu will display, so you can select AirDrop. Make sure it’s turned on, and then decidewhich discoverable preferences you’d like.
To share a photo with AirDrop from your iPhone,pull up the image first. Tap the icon of a box with an arrow pointing up,otherwise known as the share icon, and wait for the menu to pop up. From thismenu, select the name of the contact you’d like to share with. In this case, the person will beyour profile on your computer. A notification will then populate on yourcomputer, notifying you of receipt.

If you ever want to send a photo from yourcomputer to your iPhone, open the AirDrop application. You will then see youriPhone come up as a contact.
Find the photo you want to transfer and drag and drop it to your iPhone’s name in the AirDrop menu. A notification will come up on your iPhone, letting you know your computer is sharing a photo. If you’re having issues with AirDrop not working properly, you can benefit from customer support.
High Qualityand Functionality, Low Stress
Photography has gone through quite the revolution. From negatives to digitizing photos, the industry continues experiencing extreme change. To stay current with a quickly evolving industry, you luckily only need an iPhone and a computer. With two simple devices, you can capture the world around you and stay connected to your family and friends.
